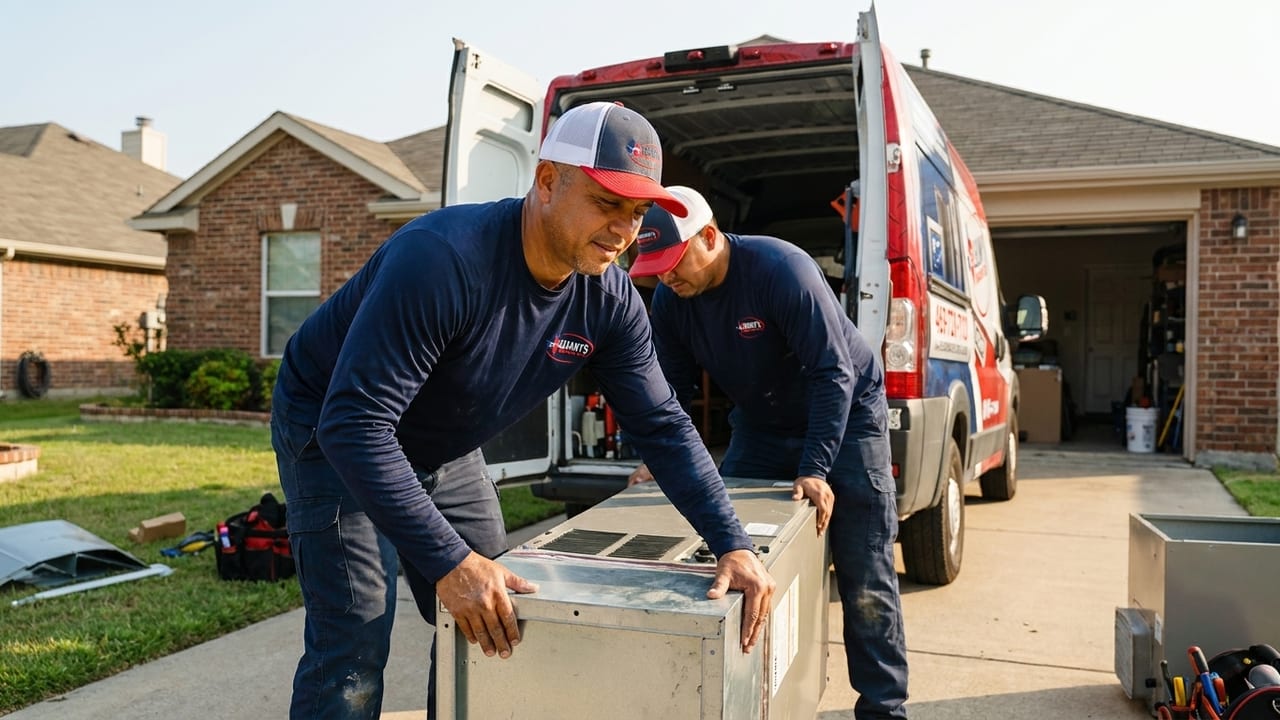
A new AC or furnace gets all the attention, but the ductwork carrying that conditioned air through your home is just as important. Undersized runs, leaky joints, or a layout that was never designed for your floor plan can make even a brand-new system fall short — hot rooms in summer, cold spots in winter, and a unit that runs longer than it should. Here is what actually goes into a proper ductwork installation, from the first measurement to the final airflow test.
Why ductwork makes or breaks comfort
Think of your HVAC system as a pair of lungs. The equipment — the air handler, the furnace, the outdoor unit — is the heart. The ductwork is everything else: the passages that carry treated air to every room and return it for another cycle. A poorly designed or deteriorating duct system wastes a significant share of the energy your equipment produces before the air ever reaches a vent.
In practice, this shows up as rooms that never quite cool down in a Texas July, uneven temperatures between floors, or a unit that cycles on and off constantly without settling the house. Many Forney homeowners assume the equipment is undersized when the real issue is what is happening inside the walls and ceiling — not at the unit itself.
Step 1 — assessing the home and designing the system
A real ductwork installation starts before a single piece of sheet metal is cut. The first step is understanding what the home actually needs — not guessing by square footage alone.
This means a Manual J load calculation: a room-by-room analysis of heat gain and heat loss, accounting for the home’s insulation, window area, orientation, ceiling height, and the local climate. Forney summers are hard on homes — high humidity and sustained heat load mean a calculation done for a milder region will not serve you well here. Manual J tells us the right equipment capacity and, from there, the right duct sizes for each run.
We also walk the home to understand the physical layout: where the air handler sits, where the registers need to go, what path the ducts will take through the attic or under the floor, and whether existing trunks can be reused or need to be replaced entirely.
Skipping the load calculation and sizing ducts by eye is what leaves homes with one uncomfortable room for years. A few extra hours at the design stage prevent months of callbacks and a system that never quite performs.
Step 2 — choosing the right materials
Residential ductwork in this region is most often one of three types — and the right choice depends on the home’s layout, budget, and where the ducts will run:
- Sheet metal (galvanized steel). Durable, low air resistance, and easy to seal properly. The preferred material for main trunks and larger supply runs. Heavier and more labor-intensive to install, but it lasts.
- Flex duct. The corrugated, insulated tubing you often see in attics. Less expensive and easier to route around obstacles. Works well for short branch runs to individual registers — but it has to be installed without sharp bends or sags, which increases air resistance and cuts flow to the room it serves.
- Fiberboard (duct board). A rigid insulated panel that can be cut and formed on-site. Offers built-in insulation and reasonable acoustic performance. Less common but useful in specific applications.
In most Forney homes, the trunk lines running through the attic are sheet metal, with flex branches running to each register. Attic runs need proper insulation wrap — attic temperatures in a DFW summer can exceed 130°F, and uninsulated ducts in that environment will lose a significant amount of the cooling the unit worked to produce.
Steps 3 through 6 — the install itself
Once the design is set and the materials are on-site, the installation follows a defined sequence:
- Install the main trunk lines. The central supply trunk runs from the air handler outward, sized to carry the full system’s airflow. Return air trunks run back to the air handler from the home’s return grilles. These are typically sheet metal, hung with proper supports to keep them level and structurally sound.
- Run the branch ducts to each register location. Branches tap off the trunk at the right points, sized individually for the load each room requires. Flex duct is cut to length and connected with proper fittings — never stretched tight or kinked.
- Hang and support every run correctly. Flex duct that sags, bends sharply, or coils in the attic creates friction that chokes airflow to the room it serves. Every run gets supported at proper intervals and routed with gentle curves.
- Connect supply registers and return grilles. Register boxes or boots are set at each vent location, sized to match the branch duct and the register cover that will go over it.
- Seal every connection. This is where a lot of older and lower-cost installs fall short — see the next section.
- Insulate all attic runs. In a Texas climate, every supply duct in unconditioned space gets a full insulation wrap. Skipping this is leaving money on the table from day one.
Why sealing is not optional
A duct system is only as efficient as its weakest joint. Every connection point — where a branch meets the trunk, where a boot meets the ceiling, where two sections of sheet metal are joined — is a potential leak. Air escaping into the attic before it reaches the room is conditioning space you will never feel.
Sealing is done with mastic sealant (a paste applied at every joint) or, in some cases, UL-listed foil tape. Standard gray duct tape is not an acceptable substitute — it dries out, peels, and fails within a few years in attic heat. After sealing, many installers also wrap the sealed joints with insulation to prevent condensation.
On a replacement job, we also check the integrity of any existing ductwork that is being kept. Ducts that were not well-sealed at original install — or that have simply aged — are often the reason a new system still does not perform the way the homeowner expects.
A high-SEER unit installed on a leaky duct system will never deliver its rated efficiency in your home. The rating is measured at the equipment — not at the register. Sealing and properly sizing the distribution system is what lets that efficiency translate to your actual energy bill.
Testing and balancing airflow
The install is not finished when the last flex duct is connected. A proper job ends with a test and balance — verifying that each room is getting the airflow it was designed for and that the system as a whole is moving the right amount of air across the equipment.
This involves measuring airflow at each register with an anemometer or flow hood, comparing the readings to the design targets, and adjusting dampers or register sizes where rooms are over- or under-served. It also includes checking the system’s total static pressure — the resistance the blower is working against — which affects both comfort and the long-term health of the equipment.
A home where one bedroom is always warmer than the rest, or where the air handler sounds like it is straining, often has a static-pressure problem rather than an equipment problem. Catching and correcting that at install time is far easier than diagnosing it two summers later.
Signs your existing ductwork may be the problem
If your system has been running for years without a full duct inspection, a few patterns point to duct issues rather than equipment wear:
- One or two rooms that never reach the thermostat setpoint, even when the rest of the house is comfortable — often a sign of undersized branches, crushed flex, or a register that is too small.
- Higher-than-expected energy bills without a change in usage or rates — a leaky duct system can waste a meaningful share of every conditioning cycle into the attic.
- Excessive dust at vents or throughout the home — return-side leaks in an attic can pull in attic dust and debris and distribute it through the house.
- The unit runs almost constantly during moderate weather — if the equipment is properly sized but still can not keep up, look at what is happening between the air handler and the registers.
- Visible duct disconnections or sagging flex in the attic — a disconnected run is conditioning the attic directly; it is worth fixing before the next cooling season starts.
A seasonal tune-up is a good time to have someone look at the visible duct runs in your attic, not just the equipment. Most homeowners do not go up there, and problems that are easy to fix when they start tend to get more expensive the longer they sit.
Ductwork Installation FAQs
How long does a ductwork installation take?
A straightforward residential replacement in a single-story Forney home can often be done in one day. Larger homes, two-story layouts, or installs that run through finished walls and ceilings take longer — typically two to three days. We tell you what to expect before we start.
Can I keep my existing ducts when I replace the AC unit?
Sometimes, yes — if the ducts are properly sized for the new equipment, structurally intact, and not leaking badly. We check this before we quote a system replacement. Pairing a new, efficient unit with old, leaky ducts is one of the most common reasons a new system still underperforms.
What is Manual J and do I need it?
Manual J is the industry-standard method for calculating exactly how much heating and cooling a home needs — based on square footage, insulation, window area, orientation, and local climate. It’s what determines the right equipment size and the right duct sizing. We use it on every install rather than guessing by rule of thumb.
Will my energy bills drop after a duct replacement?
If your existing ducts were leaking significantly, yes — often noticeably. Ducts that leak into unconditioned attic space are conditioning air you never feel; fixing that can reduce run time on the unit. Results vary by home, so we don’t promise a specific number.
Does Lexany’s handle ductwork on its own or does it subcontract?
Ductwork design and installation are work we do directly. Gustavo has been doing this since he learned the trade from his father, and on most jobs you’ll have the owner on-site.

Owner of Lexany’s Heating & AC. Family-owned in Forney since 2011 — most days he’s the one on the truck doing the work himself. Bilingual (English/Spanish).